The Challenge: To reconstruct a video game of our choosing demonstrating polygon modeling techniques and instituting Levels of Detail (LODs) and using a video game engine. Step One: SelectionAlways one of the hardest decisions. Of all the video games, we had to choose one. Through much deliberation our team of three decided upon the scope and goal of this spawn ship from the game Overwatch. A manageable yet ambitious scope.
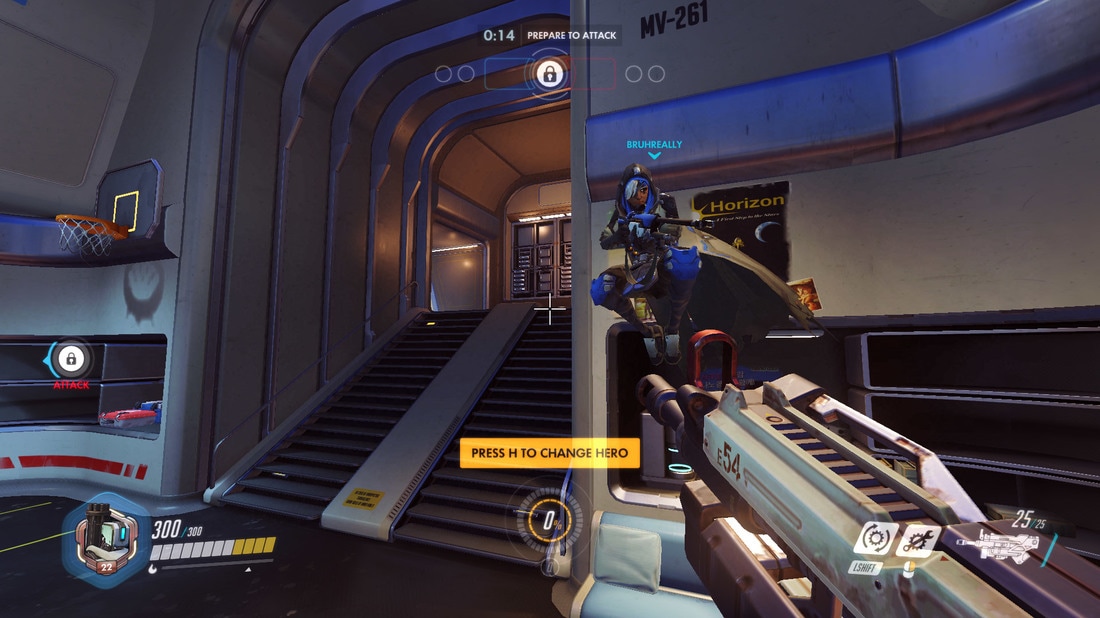
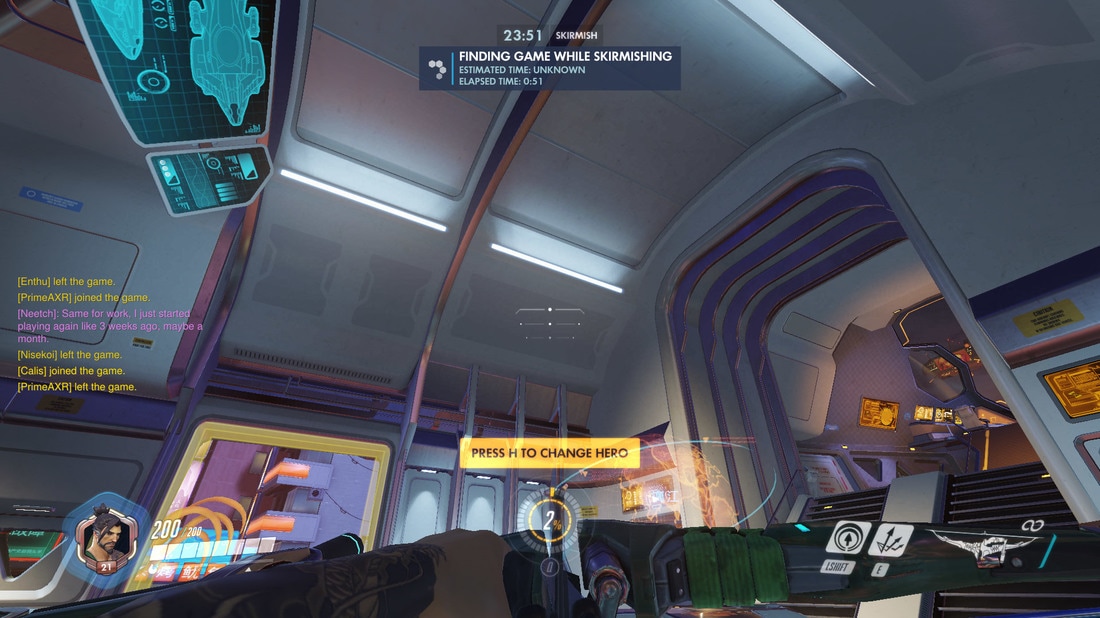
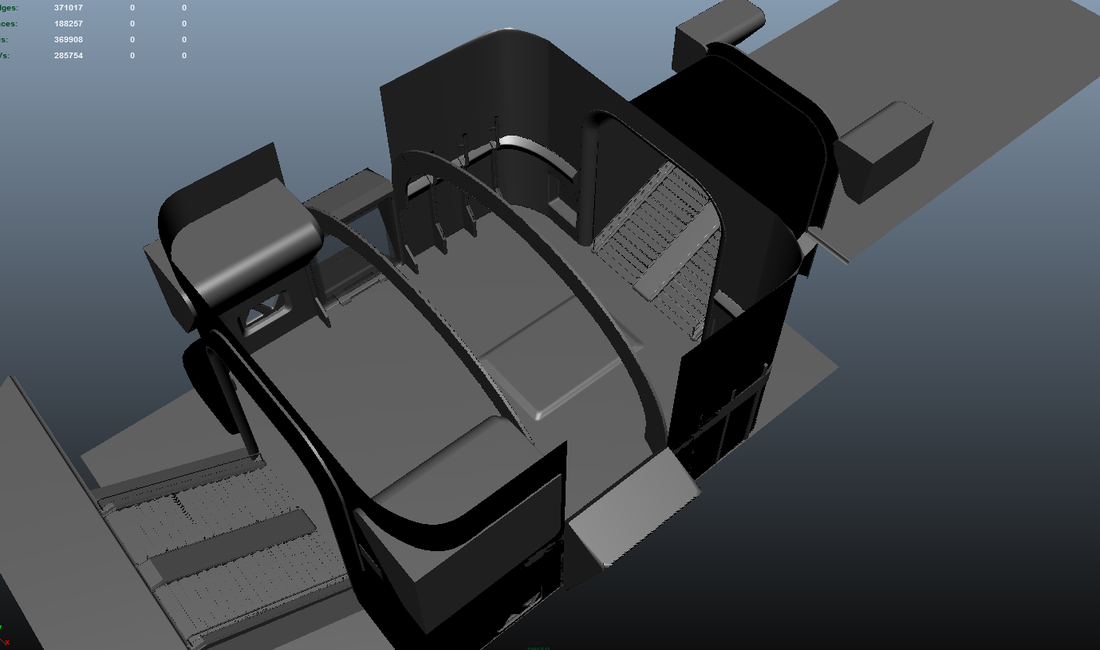
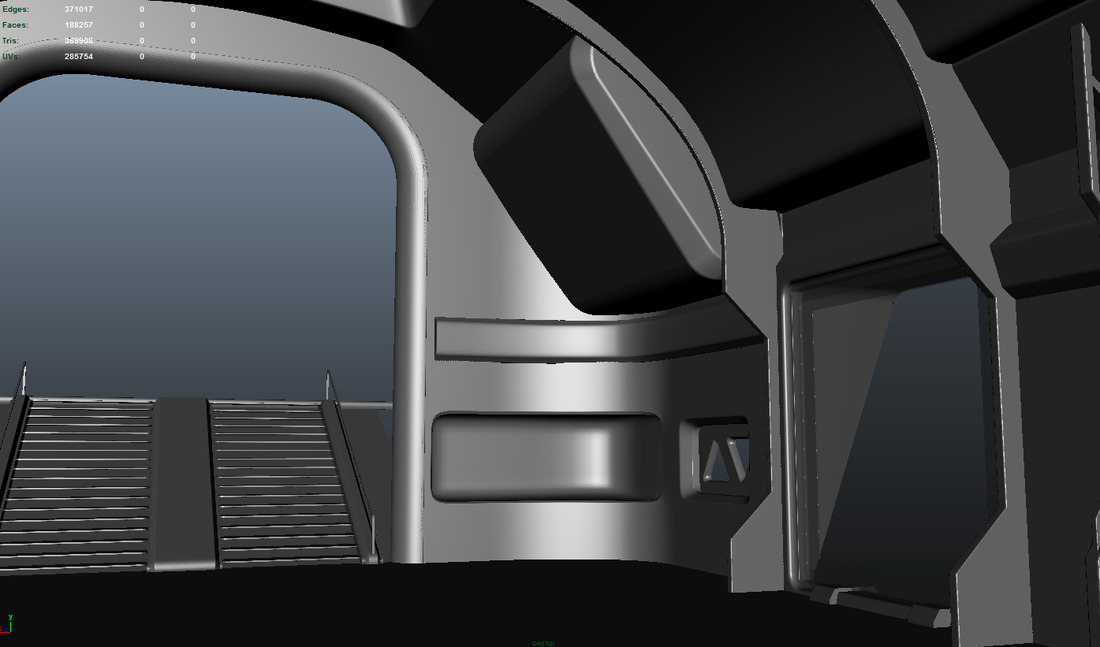
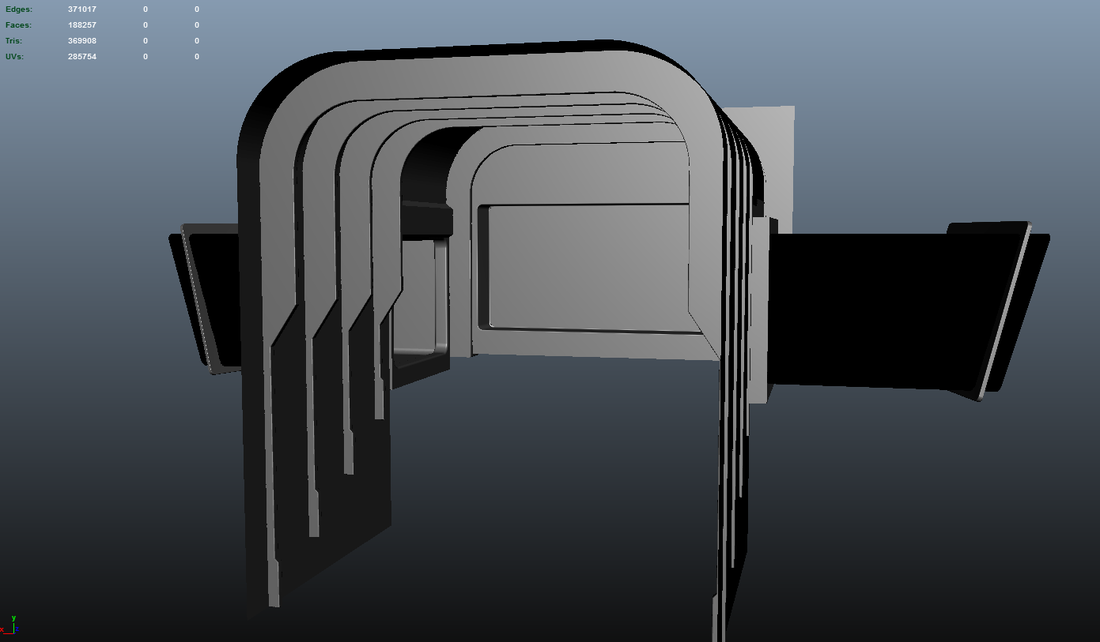
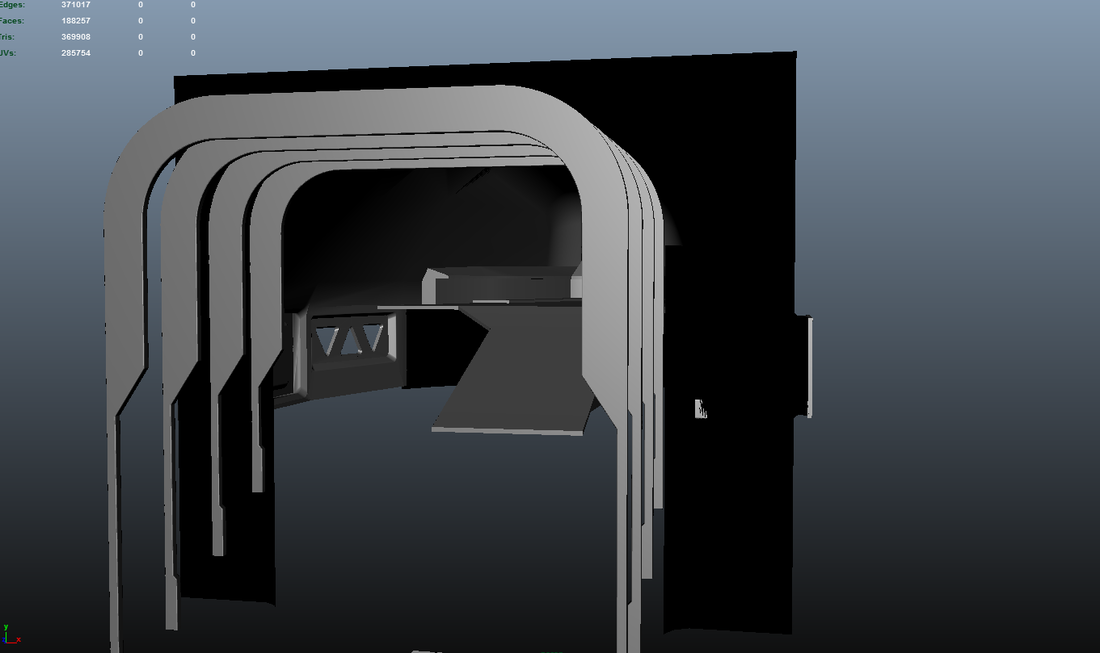
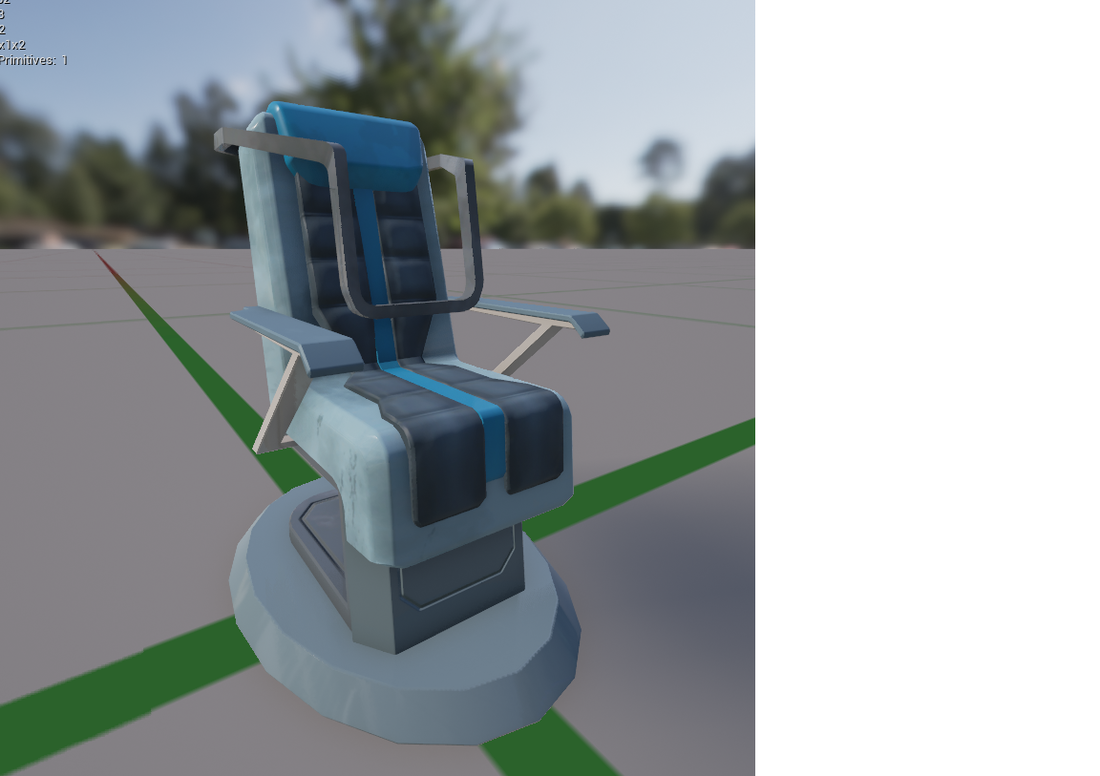
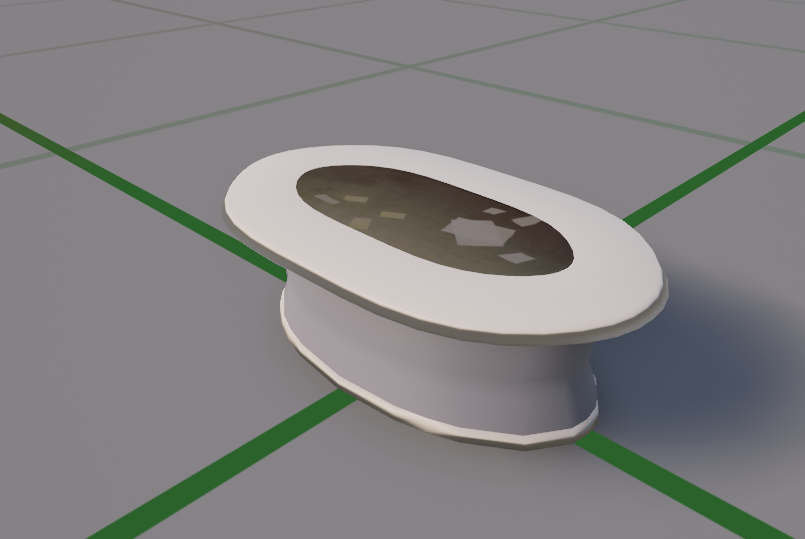
Step Two: ReferenceWe then got the game and took over 300 screenshots of the level for reference. As well as multiple videos capturing the depth and angles of the room and the objects inside. Which was only available online, so we got a few weird faces while spinning in circles taking pictures. Step Three: ModelingWe than broke up the models and got to work! Gary started modeling the building structure itself. Using mainly planes, he sculpted and beveled the edges of each piece and support. Meanwhile, Ryan and Ritisha modeled the props and supporting assets that would fill the scene. From tables and chairs, to bottles and containers.
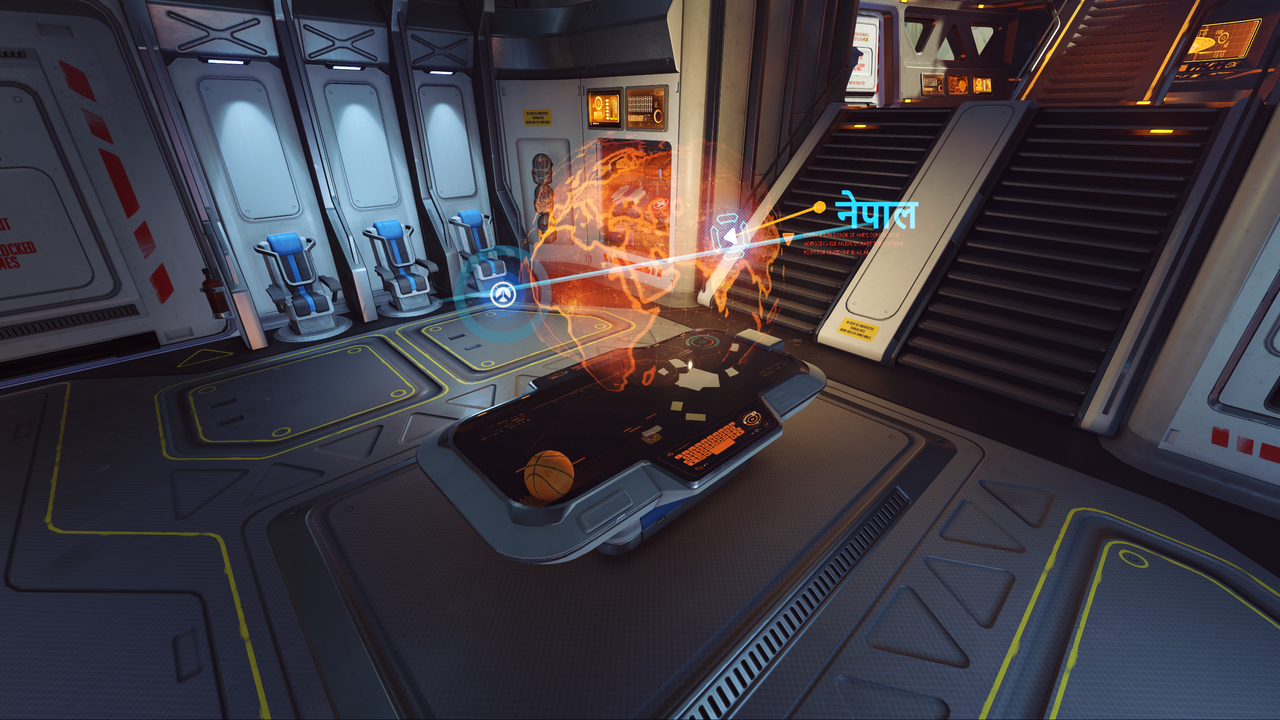
Step Four: TexturingA large portion next was texturing! Unable to texture until the modeling was finished and refined, it took a while to get started. But once they were finished, textures slowly started going up and completed the models. The building was coming together piece by piece 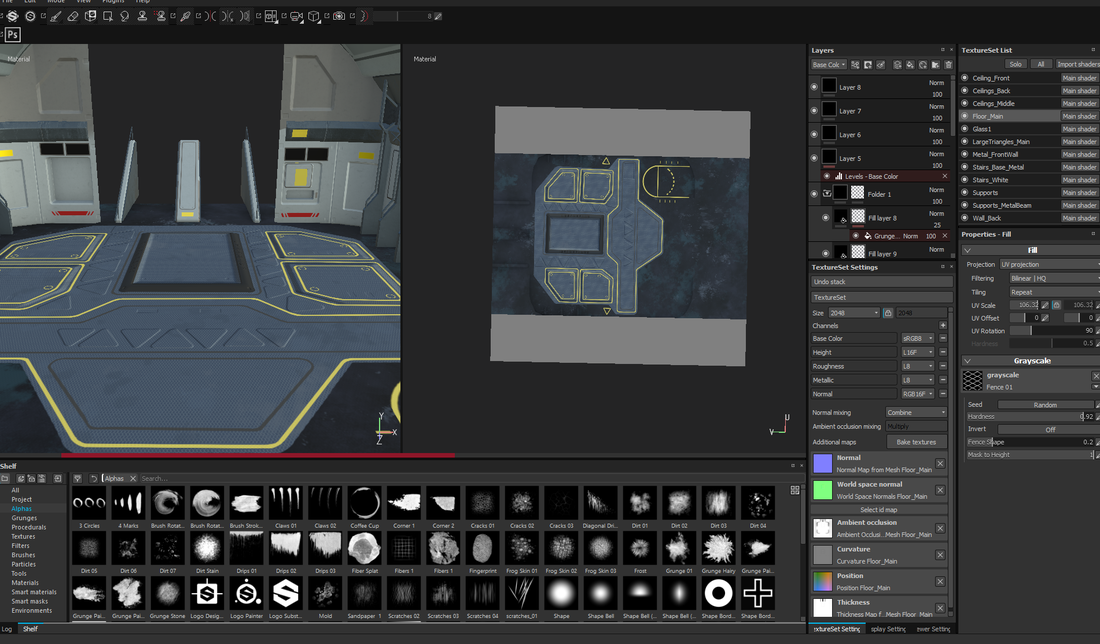 Step Five: Importing into EngineNext step was getting all the assets together into the engine. Between importing models and linking textures, this proved to be a tedious task. But immediately it was almost playable and cool to begin interacting with. Step Six: LightingThen came the artistic touches. Bringing this environment to life and making it look believable with a complicated lighting set up. Our scene was covered in small lights attached to almost every wall, as well as the overall scene lighting. At this point unreal started to act up and do some crazy things. 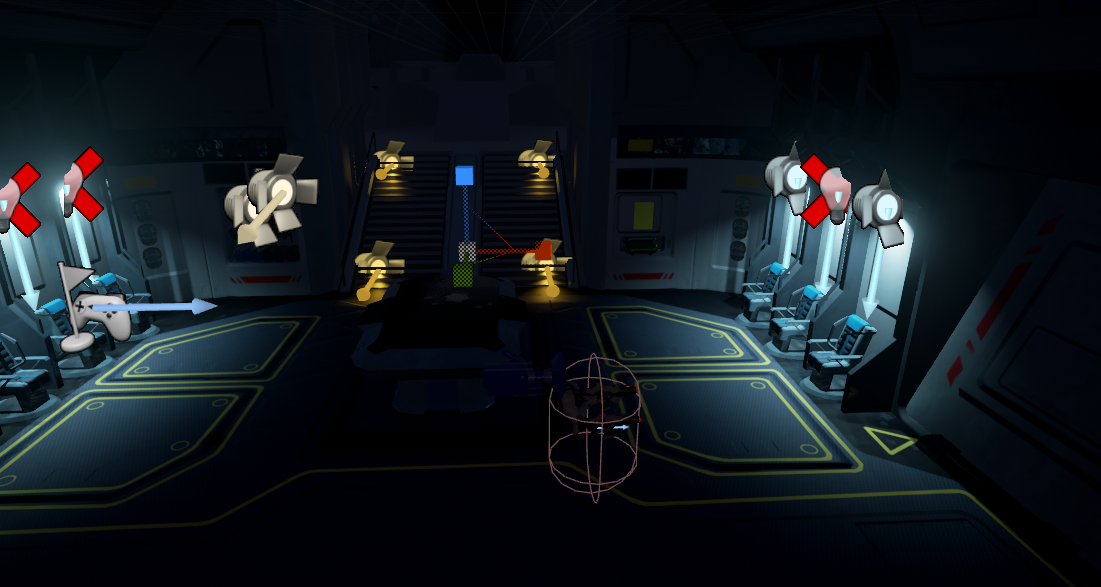 Step 7: LODsThen what was left was implementing the LODs for the models. We quickly realized that our character never gets far enough away for them to really make an appearance. But nonetheless, they are implemented. Final Product
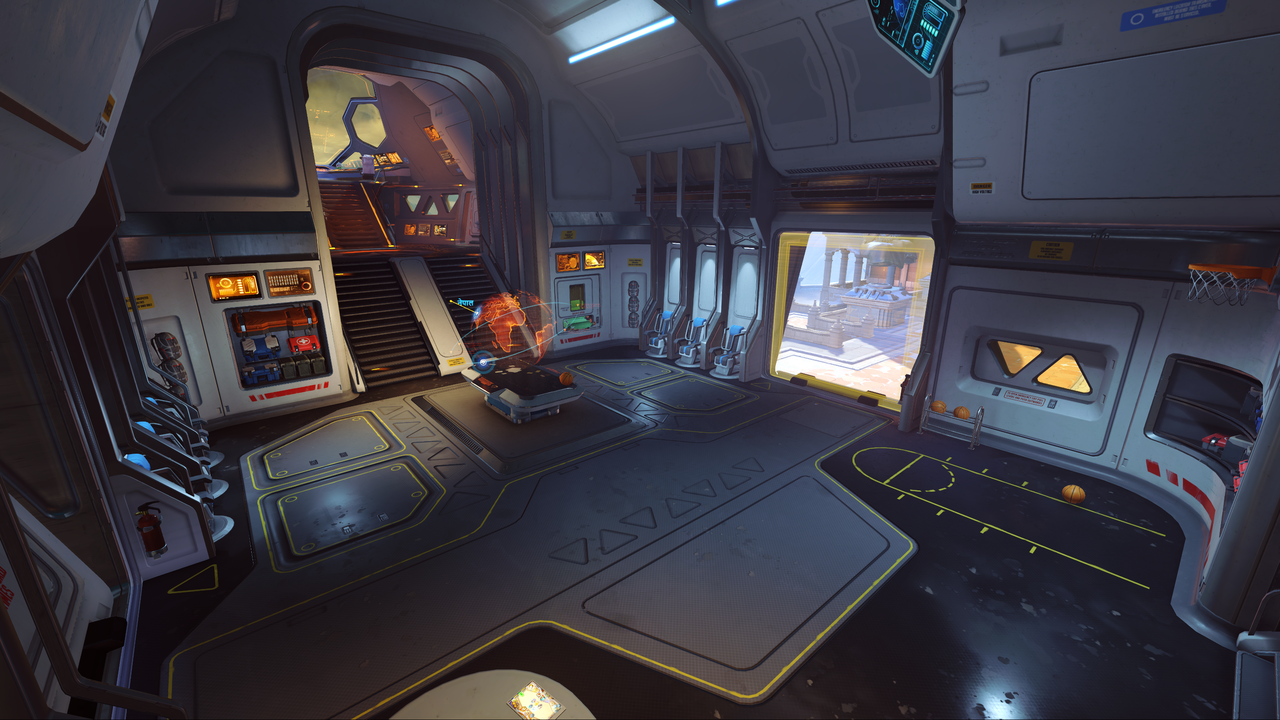
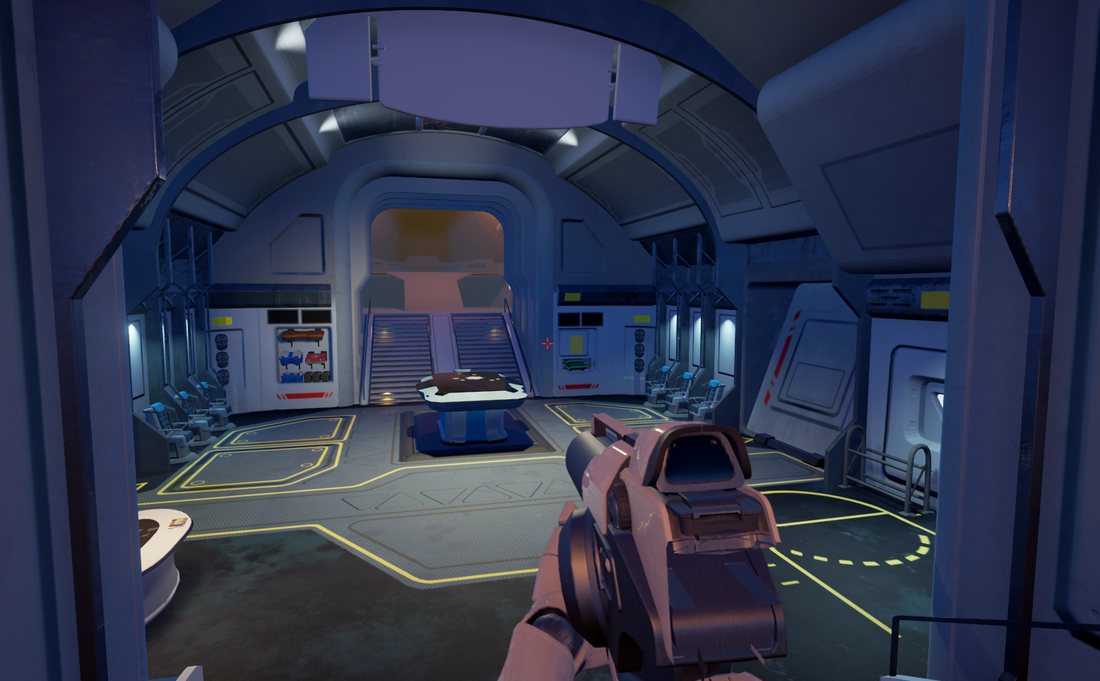
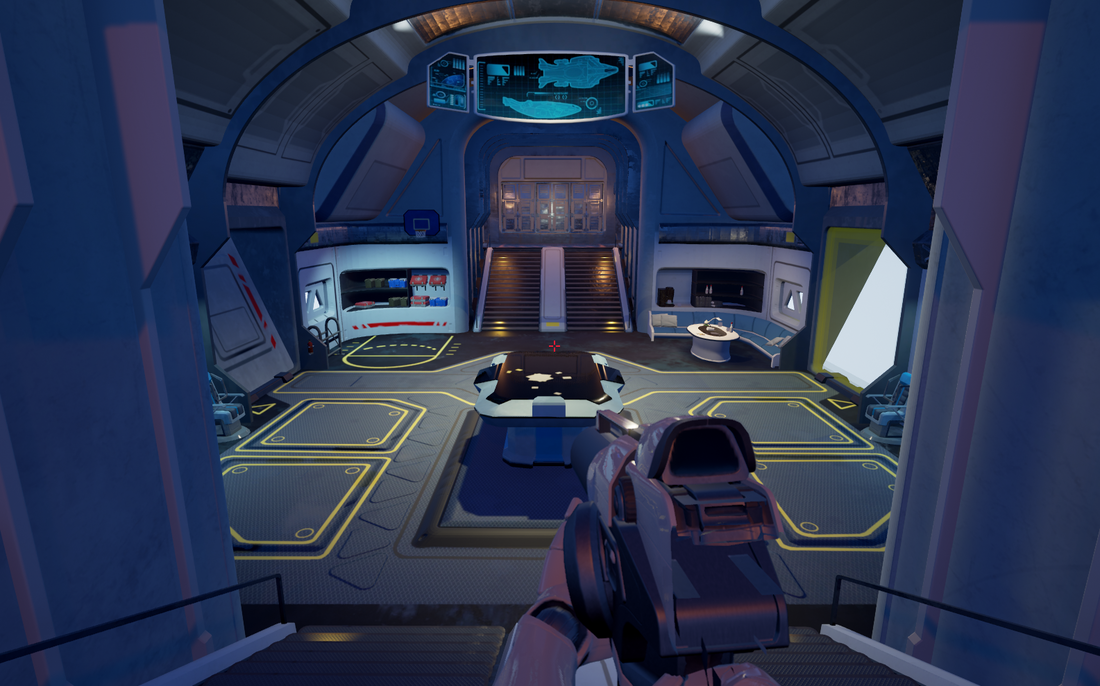
Done and complete. The room is beautiful and playable!
1 Comment
|